Give Your Snowflake Connection a Static IP for Network Policy Allowlisting

QuotaGuard Engineering
July 5, 2026
5 min read
Pattern

Give a Snowflake connection a static IP by routing your driver through QuotaGuard, then add its two fixed IPs to your network policy's allowed list.

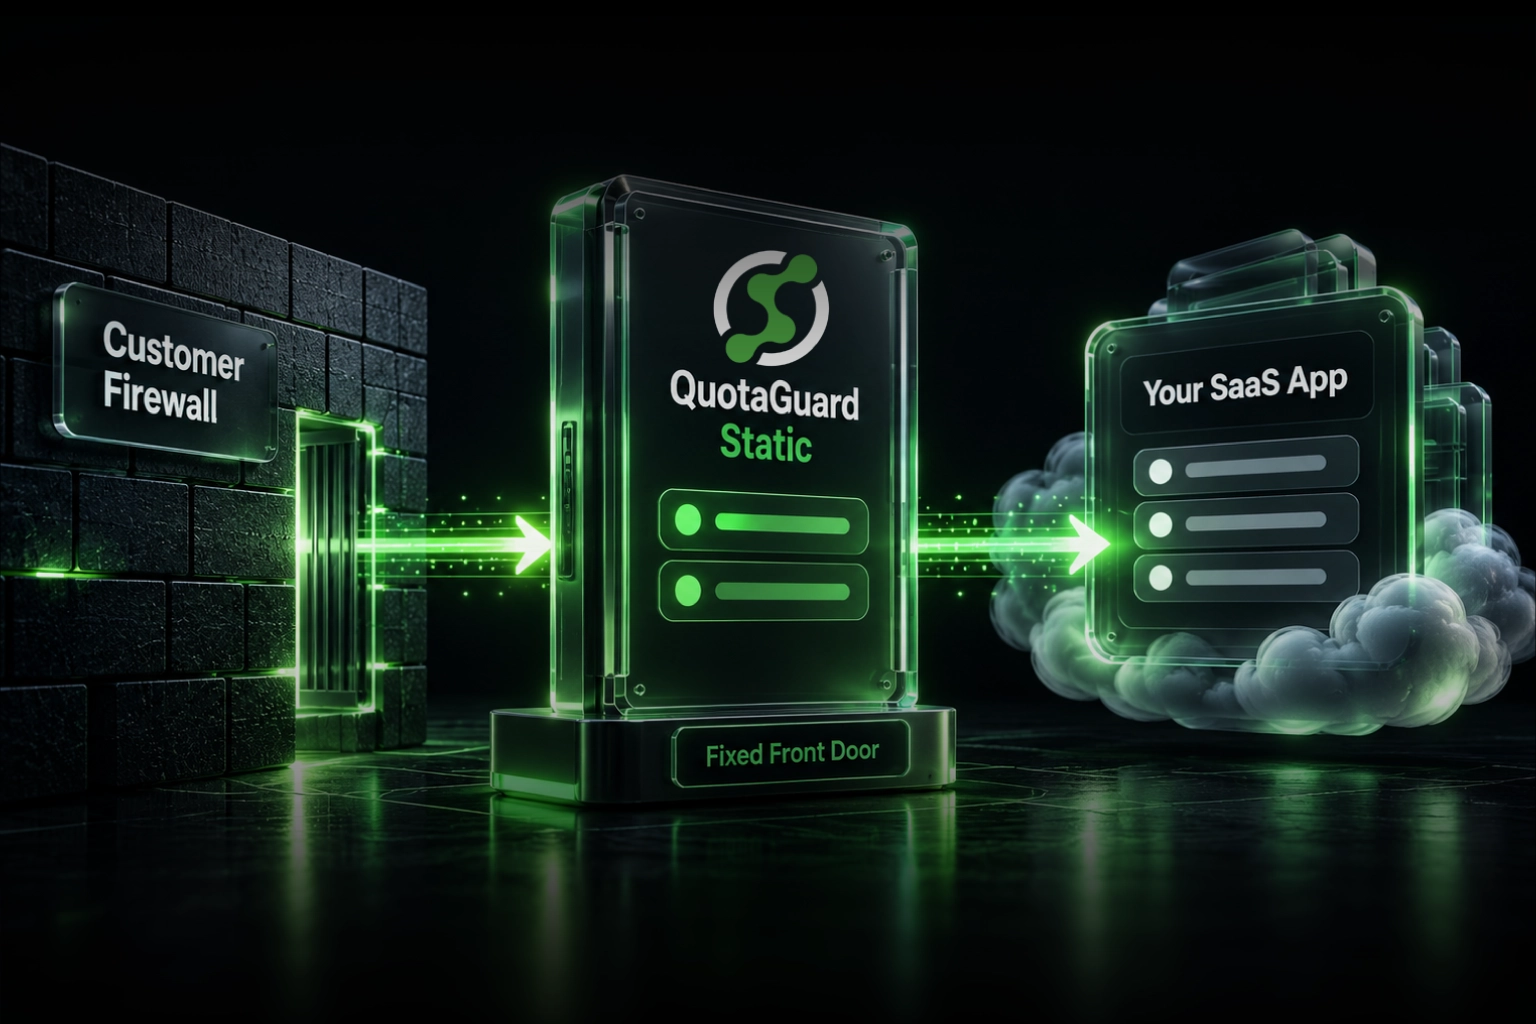
Snowflake network policies block connections by source IP. If your app runs on a serverless or PaaS host, its outbound IP changes on every deploy, so the connection gets refused. A static IP proxy fixes that with two addresses you allowlist once.

Snowflake Doesn't Hand Out Static IPs. The Allowlist Is About Your Side

A question people search more often than you'd expect: why doesn't Snowflake share a static IP address with the customer? Because Snowflake is multi-tenant SaaS built on cloud elasticity. You reach your account through a hostname, not an address that belongs to you, and there is no per-customer IP to hand out. Snowflake's own knowledge base answers this directly and points customers at hostname-based allowlisting via SYSTEM$ALLOWLIST for locking down the outbound direction. For traffic Snowflake itself initiates from UDFs, procedures, and container services, Snowflake publishes stable egress ranges through SYSTEM$GET_SNOWFLAKE_EGRESS_IP_RANGES.

None of that solves the direction this post is about. The IP control Snowflake gives you is network policies, which restrict the client IPs allowed to reach your account. Snowflake enforces the list. Producing a client that always connects from the same address is your job, and that's the part cloud platforms make hard.

A Snowflake Network Policy Allows Only the IPs on Its List

A network policy is Snowflake's connection-level firewall. When one is active on your account or on a user, Snowflake checks every connection's source IP against an allowed list. Anything not on the list is refused before authentication even runs, and once an allowed list is active, every address not on it is blocked. There's no separate deny step.

The current model has two pieces: a network rule is a schema-level object holding your allowed addresses (individual IPv4s as /32, or CIDR ranges), and the policy references rules through ALLOWED_NETWORK_RULE_LIST. The older ALLOWED_IP_LIST parameter on CREATE NETWORK POLICY still works, but Snowflake recommends network rules for anything new. Policies activate at the account level or scoped to one user, and a user-level policy takes precedence over the account-level one.

This is a problem for cloud apps. Hosts like AWS Lambda, Render, Railway, Fly.io, and Heroku hand out rotating outbound IPs that change on deploy, on restart, and under load. You can't pin them. Listing a whole cloud provider's published range would open your warehouse to thousands of other tenants, which defeats the policy.

Your Static IP Options: PrivateLink, a NAT Gateway, or a Proxy

There are three honest ways to give Snowflake a stable source IP, and they fit different setups.

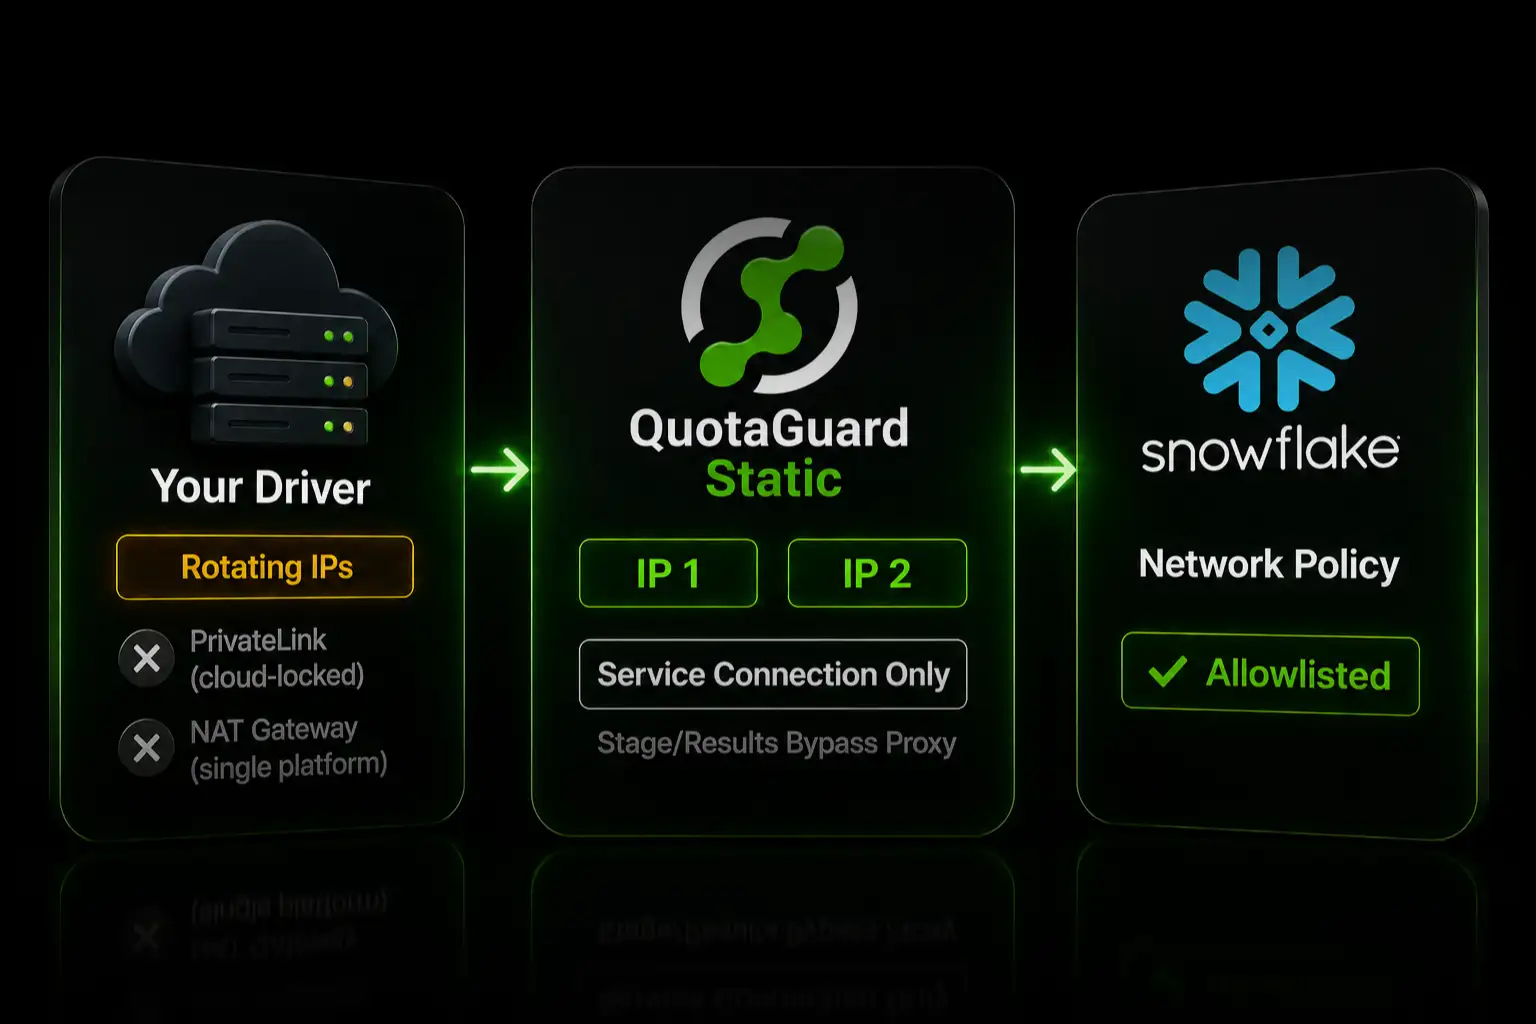
Snowflake PrivateLink. AWS PrivateLink and Azure Private Link remove the public internet path entirely, so the network policy IP question goes away. This is the right answer if you have it. It requires the Business Critical edition or higher, your client in the same cloud, and the private-connectivity setup on both ends. It does nothing for an app running outside that cloud.

A NAT gateway with a reserved IP. If you control the host network, a NAT gateway gives every resource in the subnet one outbound IP. It runs around $32 per month plus data processing, and it only covers that one platform. Serverless and PaaS hosts where you don't own the VPC can't use it.

A static IP proxy. QuotaGuard gives you two fixed IPs that work from any host, with no change to your Snowflake account or your cloud networking. You point your driver at the proxy and register the two IPs in the network policy. This is the option that covers serverless, PaaS, and multi-platform setups in one place, starting at $19 per month.

Route Your Driver Through QuotaGuard in 2 Minutes

Two steps. Add the two static IPs to a network rule and policy, then set the proxy on your Snowflake driver.

First, the Snowflake side. QuotaGuard assigns every subscription two load-balanced static IPs, and either one can be the egress for any given request, so both go in the rule; registering only one produces intermittent refusals that look random in your logs. Run this as a user with the SECURITYADMIN role or higher, with your two IPs from the QuotaGuard dashboard.

-- Replace the two addresses with your QuotaGuard static IPs.
CREATE NETWORK RULE quotaguard_egress
  TYPE = IPV4
  MODE = INGRESS
  VALUE_LIST = ('203.0.113.10/32', '203.0.113.11/32');
 
CREATE NETWORK POLICY quotaguard_access
  ALLOWED_NETWORK_RULE_LIST = ('quotaguard_egress');
 
-- Scope it to the service user that connects through the proxy...
ALTER USER my_service_user SET NETWORK_POLICY = quotaguard_access;
 
-- ...or apply it to the whole account.
ALTER ACCOUNT SET NETWORK_POLICY = quotaguard_access;

Scoping to the service user is the cleaner default: the lockdown follows the machine identity and leaves human logins alone. If you apply it account-wide, keep your own current IP on the allowed list when you activate. Snowflake refuses to apply a policy that would lock out the user setting it, which is a deliberate guard, but it means you add your own address alongside the QuotaGuard pair.

Second, set the proxy on your driver. The host below is an example. Your region is selected when you sign up, so pick the QuotaGuard region closest to your Snowflake account, and contact QuotaGuard support if you need to change it later.

The Snowflake Connector for Python takes the proxy as connection parameters.

import snowflake.connector
 
conn = snowflake.connector.connect(
    account="myorg-myaccount",
    user="my_service_user",
    password="...",
    warehouse="COMPUTE_WH",
    database="ANALYTICS",
    proxy_host="us-east-static-01.quotaguard.com",
    proxy_port=9293,
    proxy_user="username",
    proxy_password="password",
)

The JDBC driver reads the proxy from JVM system properties. Pass them with -D flags or set them in code before you open the connection.

-Dhttp.useProxy=true
-Dhttps.proxyHost=us-east-static-01.quotaguard.com
-Dhttps.proxyPort=9293
-Dhttps.proxyUser=username
-Dhttps.proxyPassword=password

The Node.js driver takes the proxy as connection options.

const snowflake = require('snowflake-sdk');
 
const connection = snowflake.createConnection({
  account: 'myorg-myaccount',
  username: 'my_service_user',
  password: '...',
  warehouse: 'COMPUTE_WH',
  database: 'ANALYTICS',
  proxyHost: 'us-east-static-01.quotaguard.com',
  proxyPort: 9293,
  proxyUser: 'username',
  proxyPassword: 'password',
  proxyProtocol: 'http',
});

The Go driver honors the standard proxy environment variables, so you set them once and the driver picks them up. The same variables work for the Python connector and recent Node.js driver versions.

export HTTPS_PROXY="http://username:password@us-east-static-01.quotaguard.com:9293"
export NO_PROXY=".amazonaws.com,.core.windows.net,.googleapis.com"

Once the proxy is set, every connection your driver opens to Snowflake leaves from one of your two static IPs, and the network policy accepts it.

Neither Product Decrypts Your Snowflake Traffic. Static Is the Fit Here

QuotaGuard Static and QuotaGuard Shield both carry outbound HTTPS through a blind CONNECT tunnel. Neither product decrypts your payload. The difference is the hop between your app and the proxy: on Static that hop uses the plain HTTP proxy protocol, while Shield encrypts it with TLS. Use Shield for regulated data such as HIPAA or PCI workloads.

That model matters for Snowflake specifically. Snowflake's security model rejects proxies that decrypt and re-encrypt traffic, and its client docs expect a plain HTTP proxy hop with the Snowflake certificate passed through untouched, which is exactly the Static configuration shown above. The certificate your driver validates is Snowflake's own, so if your driver runs OCSP validation, leave it on. You never enable an insecure or certificate-bypass mode to make this proxy work. For the Snowflake driver path in this post, Static is the right product.

Let Stage and Result Traffic Bypass the Proxy

The network policy only checks the connection to the Snowflake service. Large result sets and bulk loads do not travel over that connection. Snowflake streams big results as chunks from cloud storage, and stage loads pull straight from S3, GCS, or Azure Blob. None of that needs your static IP.

QuotaGuard's guidance for Snowflake is to proxy only the service connection and let the cloud-storage traffic go direct. That is what the NO_PROXY entries in the example above do. They keep result chunks and stage transfers off the proxy, so a large data load does not consume your plan bandwidth and does not add a hop to traffic that gets no benefit from a fixed IP.

One more case this does not change. If you already use PrivateLink, you do not need a public-IP network policy for that client, so this setup is not for you.

QuotaGuard Static Pricing Starts at $19/Month

Bandwidth is bundled and there are no per-GB overage fees, which matters for a warehouse connection because you bypass the proxy for the heavy stage and result traffic and only route the service connection. Dedicated IPs are available on Enterprise and above. On lower tiers, your two assigned IPs are still static, but shared with other customers.

QuotaGuard Shield Pricing Starts at $29/Month

Shield costs slightly more than Static at each tier because the TLS-encrypted hop adds routing overhead. Where a stack's clients support that model and the data is regulated, Shield is the pick; for Snowflake driver traffic, see the section above.

All plans include a 3-day trial. Enterprise plans include a 7-day trial. Credit card required.

See the full pricing table at quotaguard.com/products/pricing.

Put Two Fixed IPs on Your Snowflake Policy and Move On

A Snowflake network policy is a hard gate, and a rotating cloud IP will never satisfy it reliably. Two static IPs do. Register the pair once, set the proxy on your driver, and the connection stops breaking on every deploy.

Start a trial at quotaguard.com/products/pricing. If your warehouse holds regulated data, read more about QuotaGuard Shield and its SSL passthrough model.

QuotaGuard Static IP Blog

Practical notes on routing cloud and AI traffic through Static IPs.

Reliability Engineered for the Modern Cloud

For over a decade, QuotaGuard has provided reliable, high-performance static IP and proxy solutions for cloud environments like Heroku, Kubernetes, and AWS.

Get the fixed identity and security your application needs today.