How to Get a Static IP for Gigalixir Apps


You deploy your app to Gigalixir, try to connect to your company's database, and get blocked. Or you call a partner's API and get a 403 Forbidden. The third-party service requires IP allowlisting, but your Gigalixir app's IP keeps changing.
The problem is the same every time: Gigalixir's dynamic infrastructure means your app's outbound IP can change during deploys, scaling events, or infrastructure updates. The service you're trying to reach doesn't recognize you.
This guide covers your options for getting static outbound IPs on Gigalixir, with working code examples for Elixir, Node.js, Python, Ruby, and Go.
Quick Comparison
Before diving into details, here's a quick overview:
| Feature | Gigalixir Native | QuotaGuard Static |
|---|---|---|
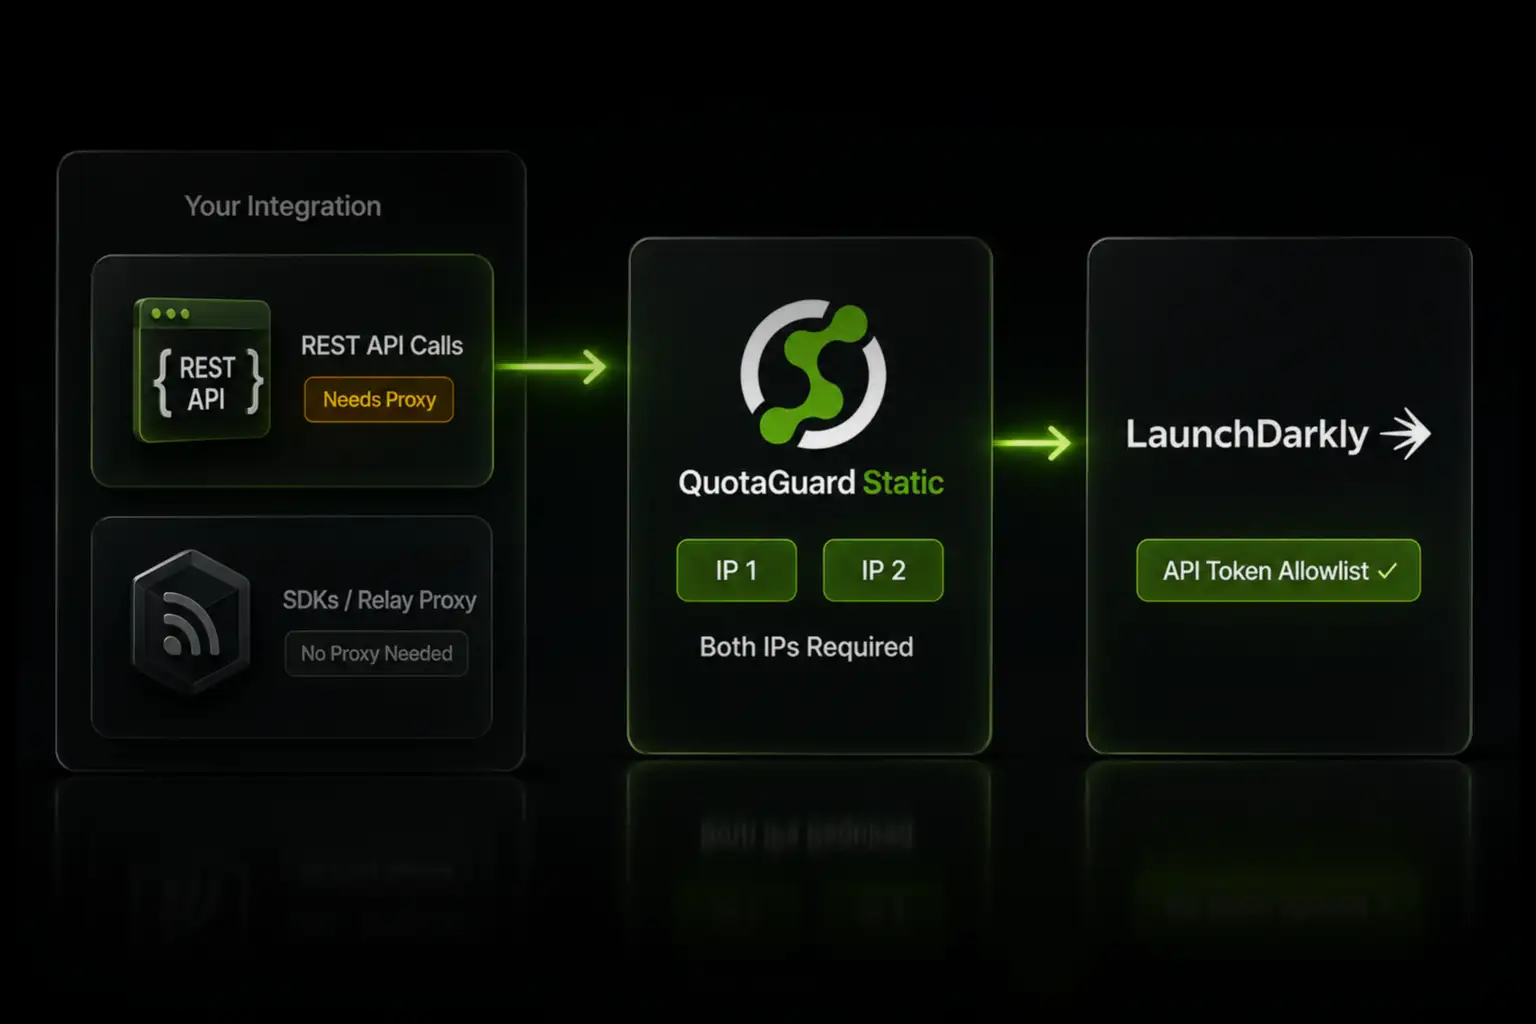
| Outbound Static IPs | ❌ Not available | ✅ 2 static IPs (load-balanced pair) |
| Inbound Static IPs | ✅ Dedicated Ingress (paid) | ✅ Yes |
| Database Connections (SOCKS5) | ❌ No | ✅ Yes |
| Setup | N/A | Environment variable |
| Cost | N/A | Starts at $19/month |
Does Gigalixir Have Native Static Outbound IPs?
No. Gigalixir provides Dedicated Ingress for inbound static IPs (useful for apex domains and webhook receivers), but there is no native solution for outbound static egress IPs.
This is why Gigalixir's official documentation recommends QuotaGuard:
"Gigalixir supports static outgoing IP addresses for customers using QuotaGuard Static IP's - which are affordable and simple to setup and configure."
— Gigalixir Configuration Docs
Full disclosure: QuotaGuard and Gigalixir are operated by the same engineering team. We built QuotaGuard to solve the exact networking problems our Gigalixir users kept asking about.
Setting Up QuotaGuard with Gigalixir
Step 1: Create a QuotaGuard Account
- Sign up at quotaguard.com/products/pricing
- Copy your
QUOTAGUARDSTATIC_URLfrom the dashboard
The URL looks like this:
http://username:password@us-east-static-01.quotaguard.com:9293Step 2: Add the Environment Variable
In your Gigalixir app:
gigalixir config:set QUOTAGUARDSTATIC_URL="http://username:password@us-east-static-01.quotaguard.com:9293"Or add it through the Gigalixir Console under your app's Configuration tab.
Step 3: Configure Your HTTP Client
Now update your application code to route requests through the proxy. Jump to your language:
- Elixir (HTTPoison, Req, Finch, Tesla)
- Node.js (axios, node-fetch)
- Python (requests, httpx)
- Ruby (Net::HTTP, Faraday)
- Go (net/http)
Elixir
HTTPoison
HTTPoison is the most common HTTP client in the Elixir ecosystem.
defmodule MyApp.APIClient do
  def get_with_static_ip(url) do
    proxy_url = System.get_env("QUOTAGUARDSTATIC_URL")
    uri = URI.parse(proxy_url)

    HTTPoison.get(url, [], [
      proxy: {String.to_charlist(uri.host), uri.port},
      proxy_auth: {uri.userinfo |> String.split(":") |> List.first(),
                   uri.userinfo |> String.split(":") |> List.last()}
    ])
  end
end
Req
Req is the newer, more ergonomic HTTP client built on top of Finch.
defmodule MyApp.APIClient do
  def get_with_static_ip(url) do
    proxy_url = System.get_env("QUOTAGUARDSTATIC_URL")

    Req.get!(url, connect_options: [proxy: proxy_url])
  end
end
Finch
Finch is the low-level HTTP client that powers Req. Use it directly when you need fine-grained control over connection pools.
# In your application.ex supervision tree
defmodule MyApp.Application do
  use Application

  def start(_type, _args) do
    proxy_url = System.get_env("QUOTAGUARDSTATIC_URL")
    uri = URI.parse(proxy_url)

    children = [
      {Finch,
        name: MyApp.Finch,
        pools: %{
          :default => [
            conn_opts: [
              proxy: {:http, uri.host, uri.port, []}
            ]
          ]
        }
      }
    ]

    Supervisor.start_link(children, strategy: :one_for_one)
  end
end
Tesla
Tesla provides a middleware-based approach with swappable adapters.
defmodule MyApp.APIClient do
  use Tesla

  plug Tesla.Middleware.BaseUrl, "https://api.example.com"
  plug Tesla.Middleware.JSON

  # Configure adapter with proxy
  adapter Tesla.Adapter.Hackney, [
    proxy: System.get_env("QUOTAGUARDSTATIC_URL")
  ]

  def get_data do
    get("/data")
  end
end
Node.js
axios
axios is the most popular HTTP client for Node.js. Use the https-proxy-agent package for HTTPS requests.
const axios = require('axios');
const { HttpsProxyAgent } = require('https-proxy-agent');

const proxyUrl = process.env.QUOTAGUARDSTATIC_URL;
const agent = new HttpsProxyAgent(proxyUrl);

async function fetchWithStaticIP() {
  const response = await axios.get('https://api.example.com/data', {
    httpsAgent: agent
  });
  return response.data;
}

// Verify your static IP
async function checkIP() {
  const response = await axios.get('https://ip.quotaguard.com', {
    httpsAgent: agent
  });
  console.log('Your static IP:', response.data);
}
Install the dependency:
npm install https-proxy-agentnode-fetch
For node-fetch v3+, use the same https-proxy-agent package.
import fetch from 'node-fetch';
import { HttpsProxyAgent } from 'https-proxy-agent';

const proxyUrl = process.env.QUOTAGUARDSTATIC_URL;
const agent = new HttpsProxyAgent(proxyUrl);

async function fetchWithStaticIP(url) {
  const response = await fetch(url, { agent });
  return response.json();
}

// Verify your static IP
const ip = await fetch('https://ip.quotaguard.com', { agent })
  .then(r => r.text());
console.log('Your static IP:', ip);
Python
requests
The requests library is the most common HTTP client in Python. Proxy configuration is straightforward.
import os
import requests

proxy_url = os.environ['QUOTAGUARDSTATIC_URL']

proxies = {
    'http': proxy_url,
    'https': proxy_url
}

def fetch_with_static_ip(url):
    response = requests.get(url, proxies=proxies)
    return response.json()

# Verify your static IP
ip = requests.get('https://ip.quotaguard.com', proxies=proxies).text
print(f'Your static IP: {ip}')
httpx
httpx is a modern async-capable HTTP client for Python.
import os
import httpx

proxy_url = os.environ['QUOTAGUARDSTATIC_URL']

# Synchronous
with httpx.Client(proxy=proxy_url) as client:
    response = client.get('https://api.example.com/data')
    print(response.json())

# Async
async def fetch_with_static_ip(url):
    async with httpx.AsyncClient(proxy=proxy_url) as client:
        response = await client.get(url)
        return response.json()

# Verify your static IP
with httpx.Client(proxy=proxy_url) as client:
    ip = client.get('https://ip.quotaguard.com').text
    print(f'Your static IP: {ip}')
Ruby
Net::HTTP
Ruby's standard library includes built-in proxy support.
require 'net/http'
require 'uri'

proxy_uri = URI.parse(ENV['QUOTAGUARDSTATIC_URL'])

def fetch_with_static_ip(url)
  uri = URI.parse(url)
  proxy_uri = URI.parse(ENV['QUOTAGUARDSTATIC_URL'])

  Net::HTTP.start(
    uri.host,
    uri.port,
    proxy_uri.host,
    proxy_uri.port,
    proxy_uri.user,
    proxy_uri.password,
    use_ssl: uri.scheme == 'https'
  ) do |http|
    request = Net::HTTP::Get.new(uri)
    response = http.request(request)
    response.body
  end
end

# Verify your static IP
ip = fetch_with_static_ip('https://ip.quotaguard.com')
puts "Your static IP: #{ip}"
Faraday
Faraday is a popular HTTP client with middleware support.
require 'faraday'

proxy_url = ENV['QUOTAGUARDSTATIC_URL']

conn = Faraday.new(proxy: proxy_url) do |f|
  f.request :json
  f.response :json
end

def fetch_with_static_ip(url)
  proxy_url = ENV['QUOTAGUARDSTATIC_URL']
  conn = Faraday.new(proxy: proxy_url)

  response = conn.get(url)
  response.body
end

# Verify your static IP
ip = fetch_with_static_ip('https://ip.quotaguard.com')
puts "Your static IP: #{ip}"
Go
net/http
Go's standard library has built-in proxy support via environment variables or explicit configuration.
package main
import (
"fmt"
"io"
"net/http"
"net/url"
"os"
)
func main() {
proxyURL, _ := url.Parse(os.Getenv("QUOTAGUARDSTATIC_URL"))
client := &http.Client{
Transport: &http.Transport{
Proxy: http.ProxyURL(proxyURL),
},
}
// Make a request through the proxy
resp, err := client.Get("https://api.example.com/data")
if err != nil {
panic(err)
}
defer resp.Body.Close()
body, _ := io.ReadAll(resp.Body)
fmt.Println(string(body))
}
// Verify your static IP
func checkIP() {
proxyURL, _ := url.Parse(os.Getenv("QUOTAGUARDSTATIC_URL"))
client := &http.Client{
Transport: &http.Transport{
Proxy: http.ProxyURL(proxyURL),
},
}
resp, _ := client.Get("https://ip.quotaguard.com")
defer resp.Body.Close()
ip, _ := io.ReadAll(resp.Body)
fmt.Printf("Your static IP: %s\n", ip)
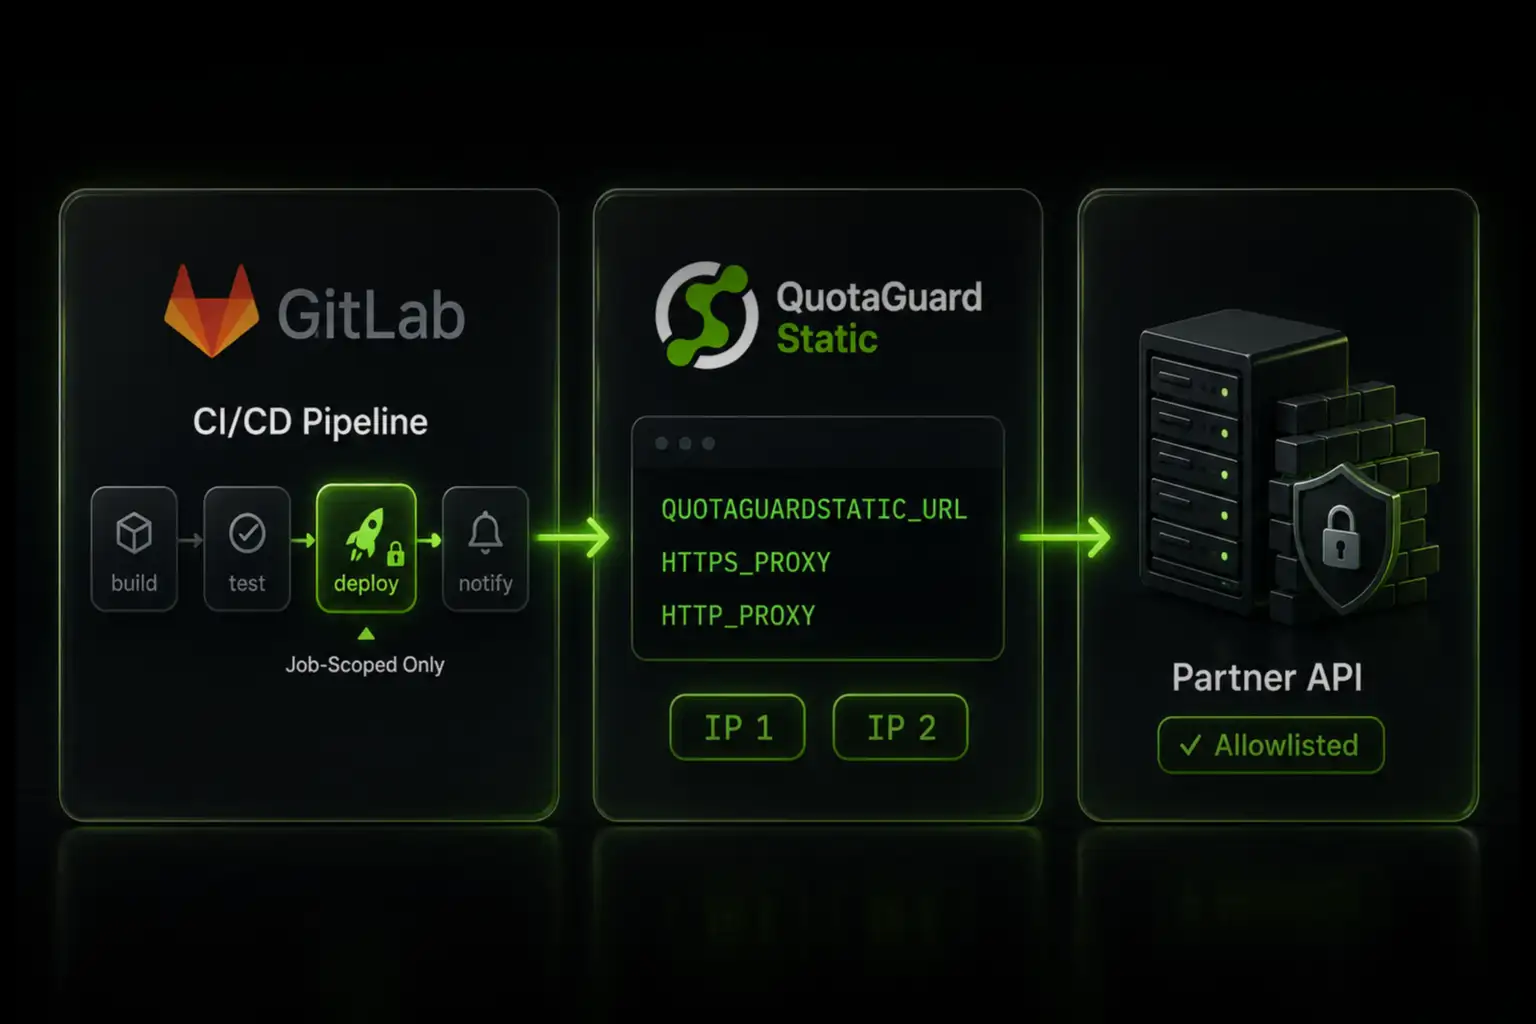
}Alternatively, Go respects the HTTP_PROXY and HTTPS_PROXY environment variables automatically:
# Set these environment variables and Go's default client will use them
gigalixir config:set HTTP_PROXY="$QUOTAGUARDSTATIC_URL"
gigalixir config:set HTTPS_PROXY="$QUOTAGUARDSTATIC_URL"
Database Connections with SOCKS5
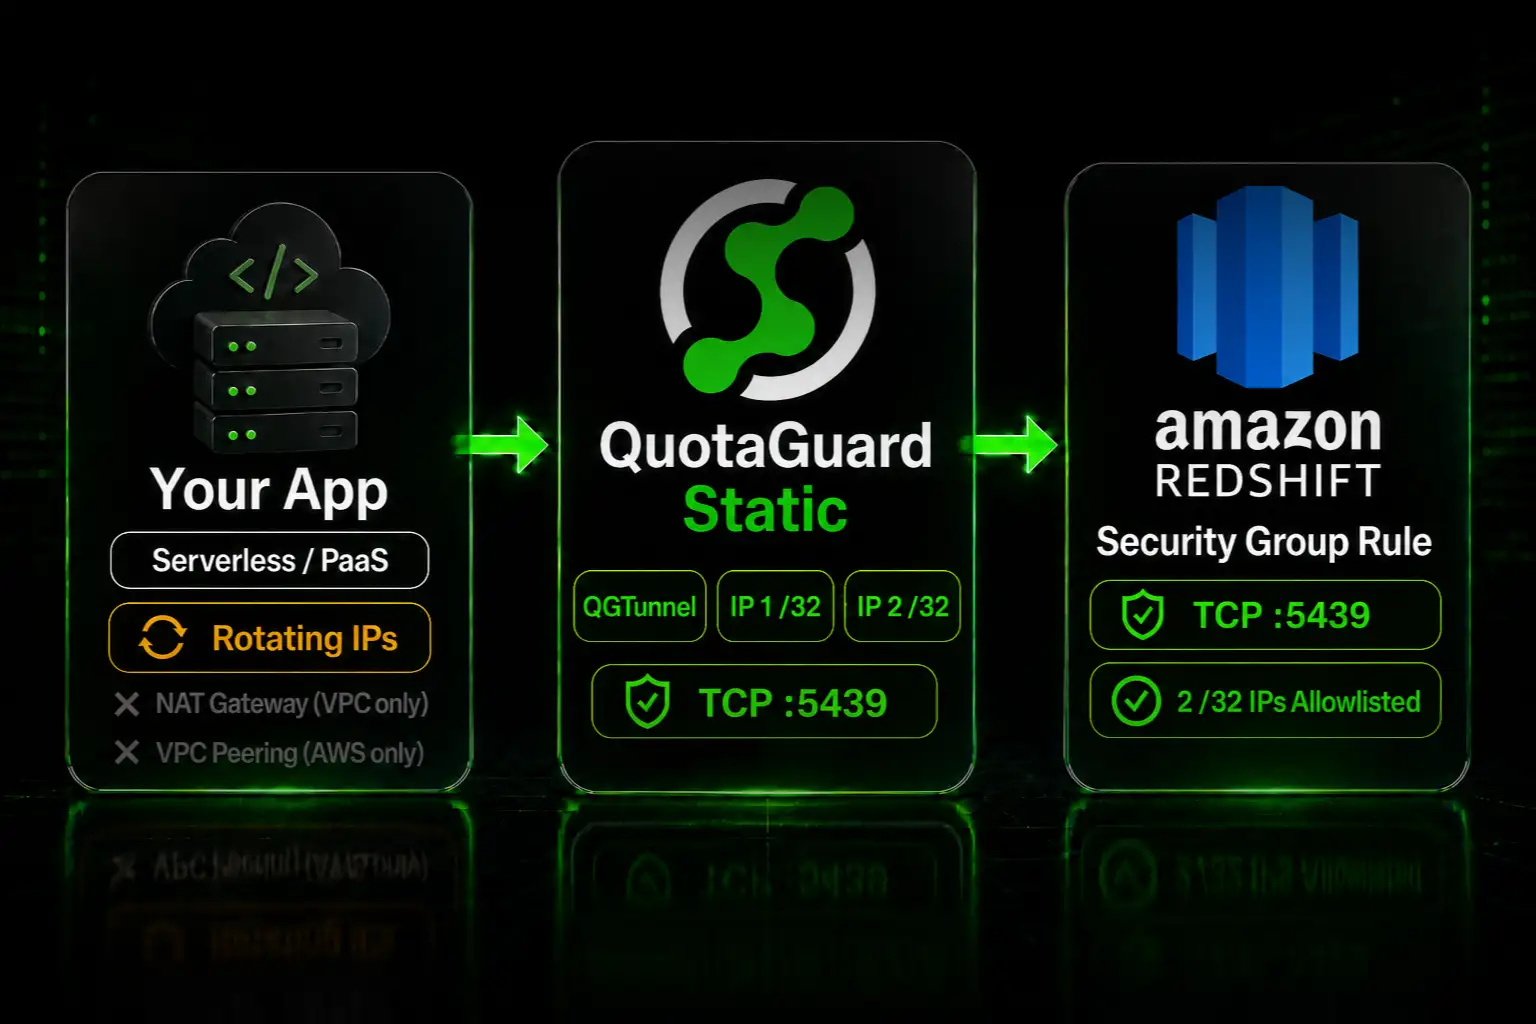
HTTP proxies only work for HTTP traffic. Database connections (PostgreSQL, MySQL, MongoDB) use TCP protocols that require SOCKS5 tunneling.
QuotaGuard's QGTunnel handles this by wrapping your application process and routing specified traffic through the SOCKS5 proxy.
Setup Steps
1. Download QGTunnel into your app:
curl https://s3.amazonaws.com/quotaguard/qgtunnel-latest.tar.gz | tar xz2. Configure the tunnel in QuotaGuard dashboard:
Go to Settings → Tunnel → Create Tunnel. For PostgreSQL:
- Remote Host: your database hostname
- Local Port: 5432
- Transparent: true
- Encrypted: false
3. Update your Procfile:
web: bin/qgtunnel your_start_commandMongoDB Atlas Configuration
- Get your QuotaGuard static IPs from the dashboard
- In MongoDB Atlas, go to Network Access → Add IP Address
- Add both QuotaGuard IPs
- Your Gigalixir app now connects through the static IPs
The same QGTunnel approach works for PostgreSQL (port 5432), MySQL (port 3306), and any other TCP-based database.
Verifying Your Static IP
QuotaGuard provides an endpoint that returns your outbound IP. Use it to confirm the proxy is working.
Command line test:
curl -x $QUOTAGUARDSTATIC_URL https://ip.quotaguard.comEach language section above includes a verification example. You should see one of your two QuotaGuard static IPs returned.
Troubleshooting
"Connection refused" errors
Make sure your proxy URL is correctly formatted and the environment variable is set:
gigalixir config
# Should show QUOTAGUARDSTATIC_URL with format: http://user:pass@host:port
Timeout errors
QuotaGuard adds a network hop. If you're seeing timeouts, increase your client's timeout settings. Most HTTP clients default to 30 seconds, which is usually sufficient.
SSL certificate errors
If you see SSL errors when proxying HTTPS requests, ensure you're using the HTTP proxy URL (not SOCKS5) for HTTPS traffic. The proxy handles the TLS negotiation correctly.
Get Started
QuotaGuard offers a free trial with no credit card required. Setup takes about 5 minutes.
- Gigalixir Integration Page — Features and FAQs
- Pricing — Plans starting at $19/month
- Documentation — Language-specific setup guides
Questions? Our support team is engineers, not outsourced help desk. Reach out directly.
QuotaGuard Static IP Blog
Practical notes on routing cloud and AI traffic through Static IPs.