Registering an Account
To use QuotaGuard Static IP’s, you need to register an account. To explore the service, we offer you a free three-or-seven day trial.
Free Trial with No Restrictions
If you are working on getting your connection(s) setup and need a longer trial to get everything configured and tested, send us an email to our Support team so we can push that date out for you.
We are only interested in your business if we’re the right solution for the long term, so please let us know if you need a longer trial to determine if we’re the right solution for your use case.
You can use the full functionality of the service as soon as you register with QuotaGuard. You can trial QuotaGuard with:
-
Multiple Resources
-
Multiple Endpoints
-
Multiple Connections
-
Multiple Applications
-
Multiple Users
There are no unique limitations during the trial period.
Register Your Account
Step One: Navigate to the Pricing Page
Navigate to the Pricing Page to start the account registration process.
Step Two: Select the Appropriate QuotaGuard Service (Shield vs. Static)
At the top of the pricing page, both QuotaGuard Static and QuotaGuard Shield are presented side-by-side with a short summary of when each is the right fit. Click See Static Plans or See Shield Plans to jump to the plan tiers for that product.
If you need assistance determining which service you need, please see our document What is the Difference between QuotaGuard Static and QuotaGuard Shield?
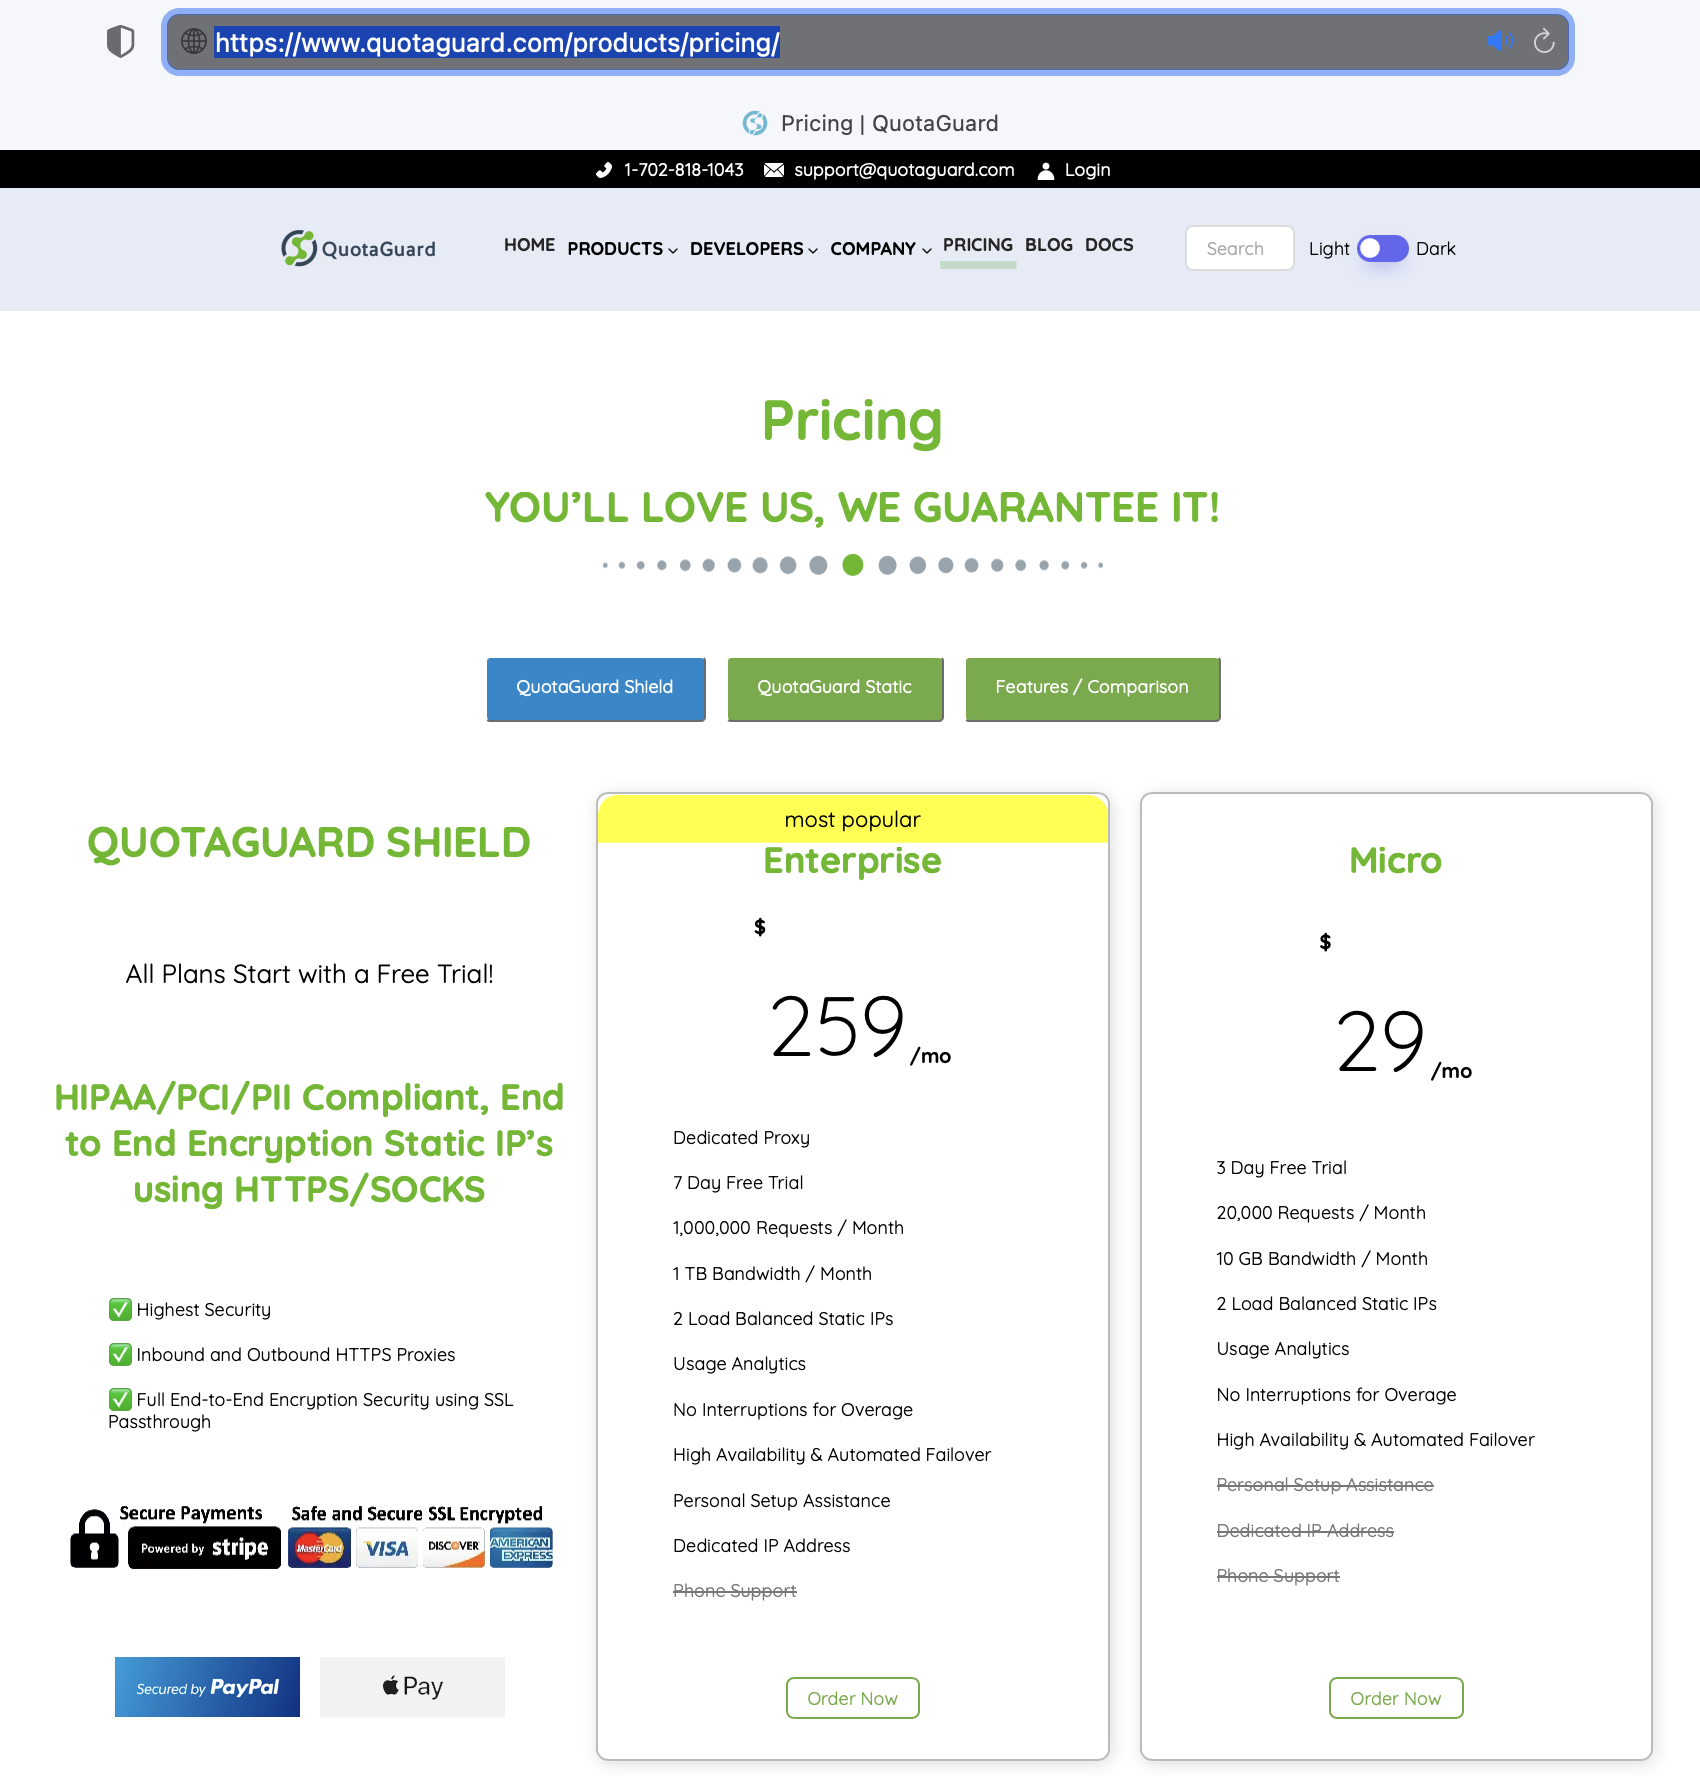
Step Three: Select the Appropriate Plan
Each product offers four plan tiers (Starter, Production, Business, and Enterprise) with increasing request and bandwidth limits. Click Start free trial on the plan that fits your expected usage.
Note: Don’t worry if you don’t know your expected usage or exactly what plan to start on, payment and usage plans can be adjusted at any time.
Changing plans does not affect your Static IP’s or require any configuration changes, so it is safe to make any type of plan change in the future once you have a better idea of your usage requirements.
The Starter plan is the most common starting point for smaller projects and evaluations, while Enterprise is the right fit for customers that need dedicated resources or higher request and bandwidth limits.
Step Four: Enter Company / Name Details
Fill in your email, create a secure password (and confirm it), select a Region, review and agree to the Terms and Privacy Policy, and select Get Started.

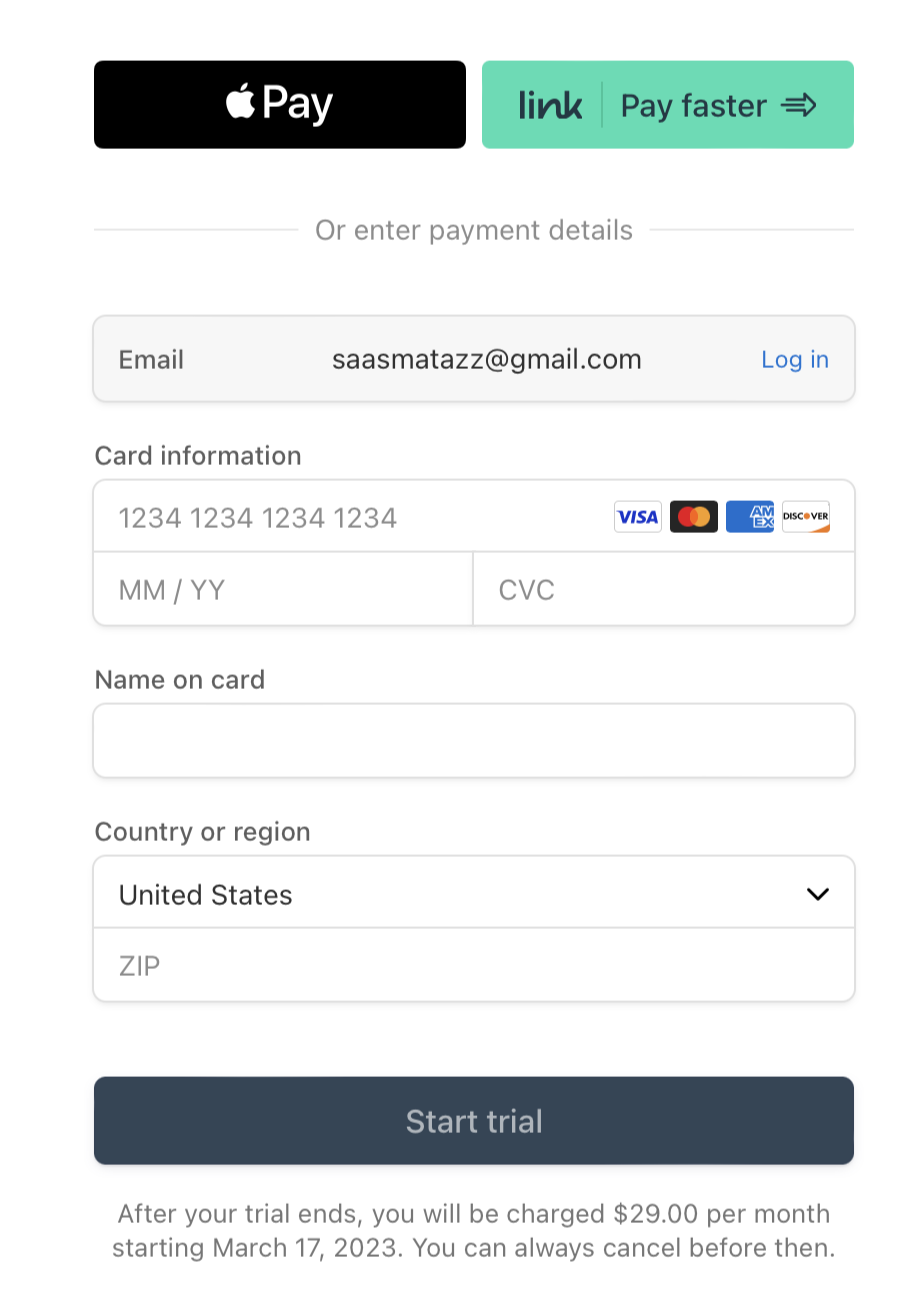
Step Five: Enter Payment Details for Stripe
Add your payment details for Stripe and review that you have the correct plan and know the trial length.
Once you click “Start Trial” it will take about 5 seconds for your account to be created. From there, you are ready to start configuring your settings…