Why Can't My Client Connect To My IP Addresses Directly?
Table of contents
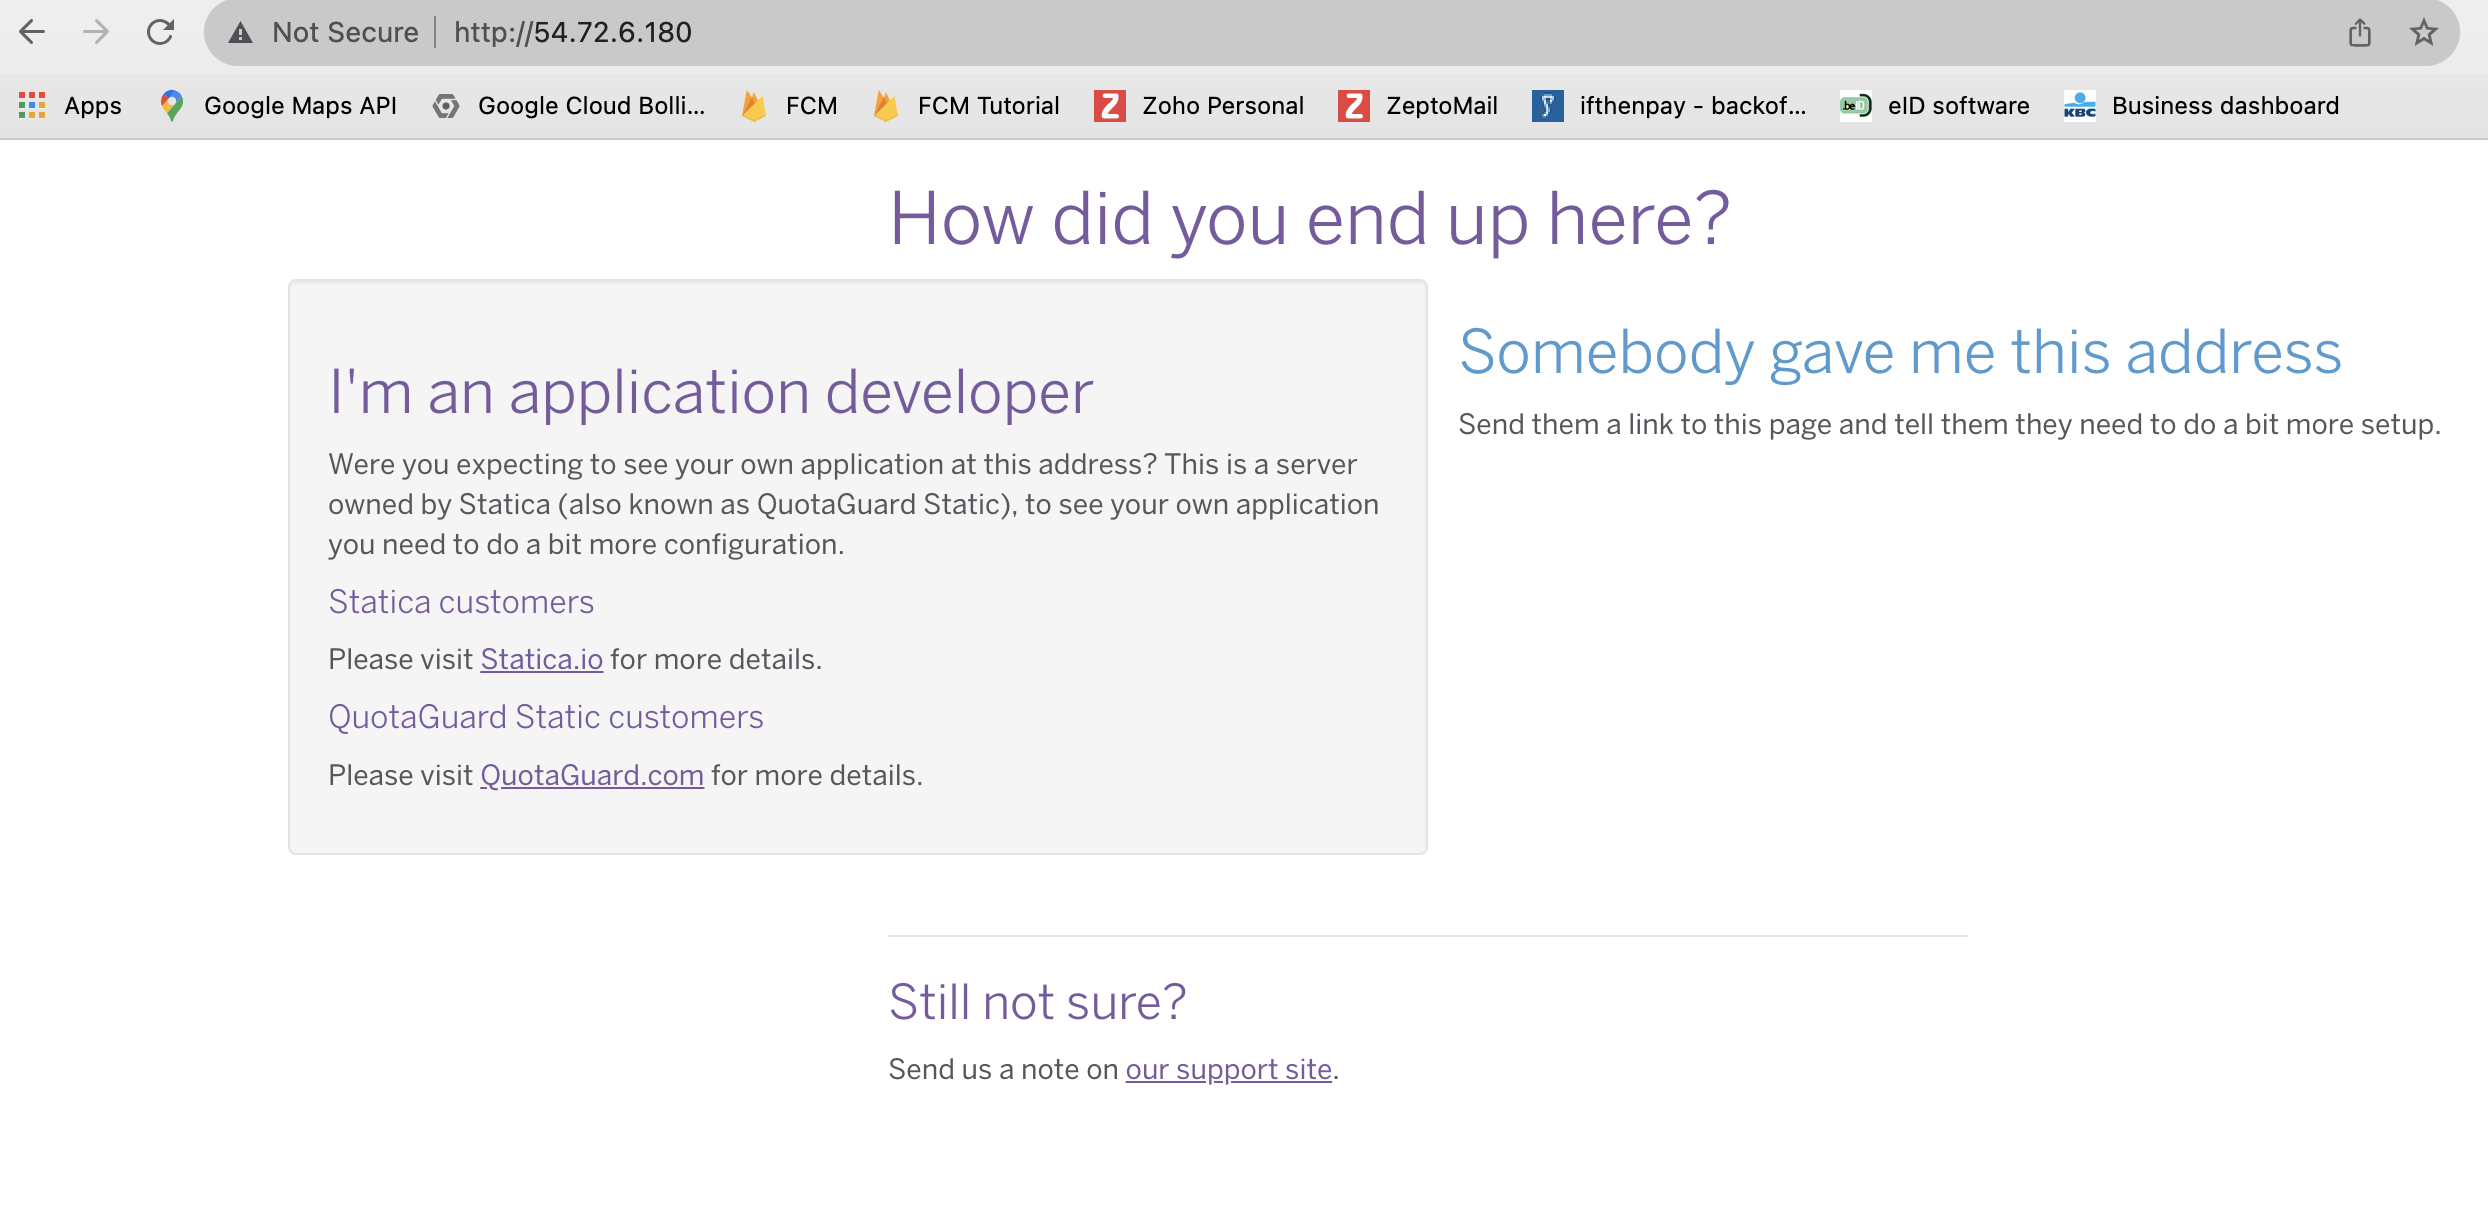
Heroku ‘How did you end up here’ error page when trying to use IP address directly
Did you get a Heroku ‘How did you end up here’ error page like the one below when you used the static IP address directly, while trying to navigate to your custom domain?

A common question we receive at Support is that a customer can’t access their IP’s when they check them directly (for example in a web browser).
If you want a client to reach your application via your QuotaGuard Static IPs, there are a few things you need to do to make this work as you desire.
Subscription Plan
To enable the Inbound Proxy service, your subscription must be on the Micro plan (or higher) to enable the Inbound Proxy configurations.
The Inbound Proxy is not available on the Starter or Spike plans.
Shared Proxy Service
By default, all new users are on a shared proxy service.
When you are on a shared proxy service, you are sharing the servers and IP addresses with other customers and users.
Therefore, when you are setting up an inbound proxy, you need to use the specific URL we provide (getstatica.com) to route your traffic correctly and appropriately log the usage for billing purposes.
Why Can’t We Just Point to the IP’s?
Since the IP Addresses are shared among many users, we can’t receive inbound requests for an IP address and route it to your application successfully.
You have a few options to resolve this issue and make it work as intended:
- Use the
getstatica.comURL we provided you to access your website directly. - Setup a custom domain (ie:
your.domain.com) in our dashboard and update the DNS records for that FQDN to point to the IPs or URL we provided you. (see notes below on Custom Domain) - For Enterprise plans and greater, you can also request Dedicated Proxy service via Support.
This gives you dedicated proxy resources, dedicated IPs, and the ability to customize the inbound proxy.
With the dedicated proxy service we can allow you to access your site using the IPs we provide you.
Custom Domain
If you want to do option 2, you can setup your own custom domain if you have edit access to your DNS records.
To map custom domain click on “Add Custom Domain” and enter the domain name and optionally upload SSL certificate.
For specific directions, please visit How to Add a Custom Domain.
At the last step, you will see details about necessary DNS record changes for the custom domain. If you follow those directions, you should be all set.
But, if you have issues, reach out to us at Support so we can help get you setup.